

Here is a quick guide to replacing your door check, if it is worn out. (This guide was in a 2007 Ex but the principle is the same for all).
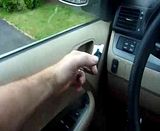
Here is the before on my Ody driver door with the original 2007 door checker:
Sorry Video Not working, gotta work on it later!
This job took about 15 minutes per side, (including snapping pics). And I would rate it as an easy diy project.
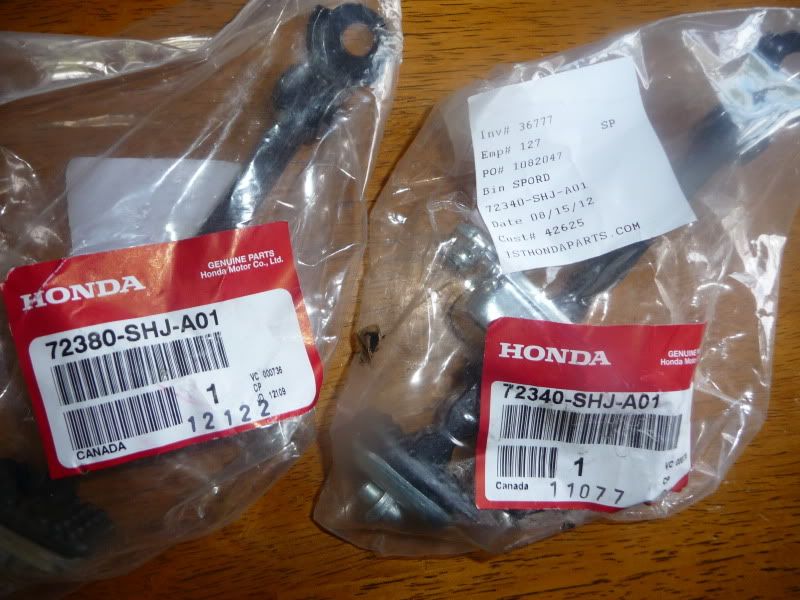
So here is what I ordered:
Left front door checker (Honda Part Number: 72380-SHJ-A01) $13.18
Right front door checker (Honda Part Number: 72340-SHJ-A01) $13.18
I ordered from 1sthondaparts.com, which apparently comes from Honda of Fife in Tacoma, Washington. Shipping was $12.95, so total to my door through USPS with no duties to Canada was $39.31! Awesome...
Here is what I got:
![Image]()
![Image]()
I am not going to reinvent the wheel with a complete guide (and I am lazy), so take a look at this great speaker replacement guide by sat on how to remove the door panel for a speaker replacement.
Here is sat’s guide in the following thread: http://www.odyclub.com/forums/52-2005-2010-odyssey/25826-howto-replace-front-door-speakers-pics.html
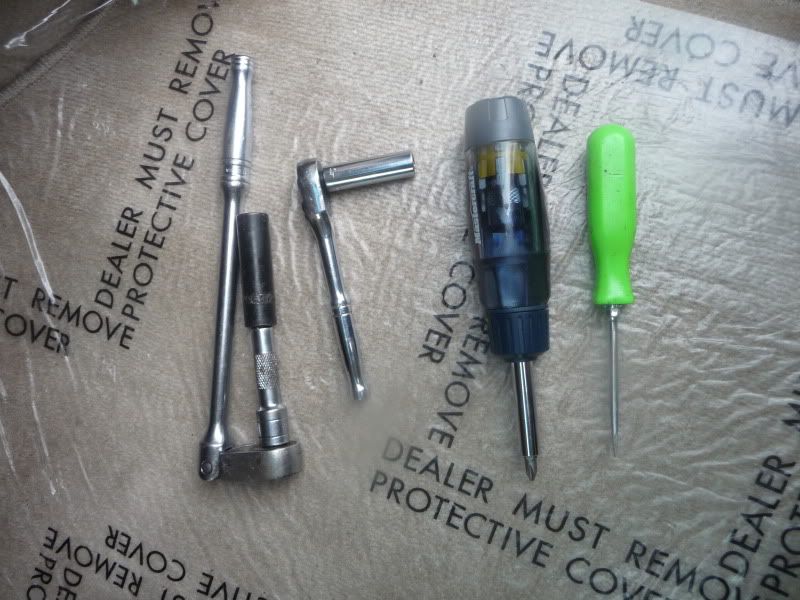
Here is the equipment needed for the whole job:
-Phillips screwdriver
-Small flat head screwdriver
-10 mm socket
-12 mm socket
![Image]()
You might want to add a thin bladed knife also. It came in handy for me on step 3. The most time consuming part of this whole thing was trying to get the plastic out from behind the door handles. Here is a pic of the plastic once removed.
![Image]()
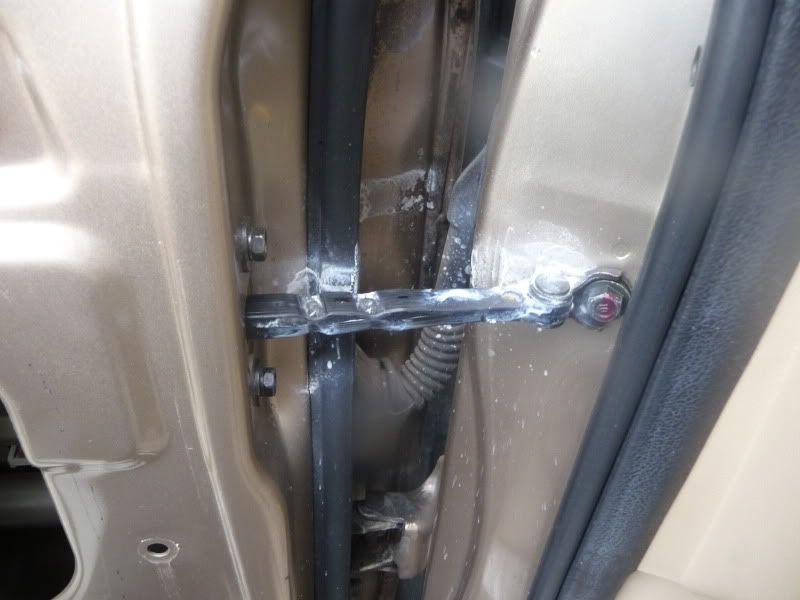
So, on his guide, follow to Step 8. These are the steps to remove the driver side panel. Here is the culprit.
![Image]()
Here are the rest of the steps necessary to replace that actual checker.
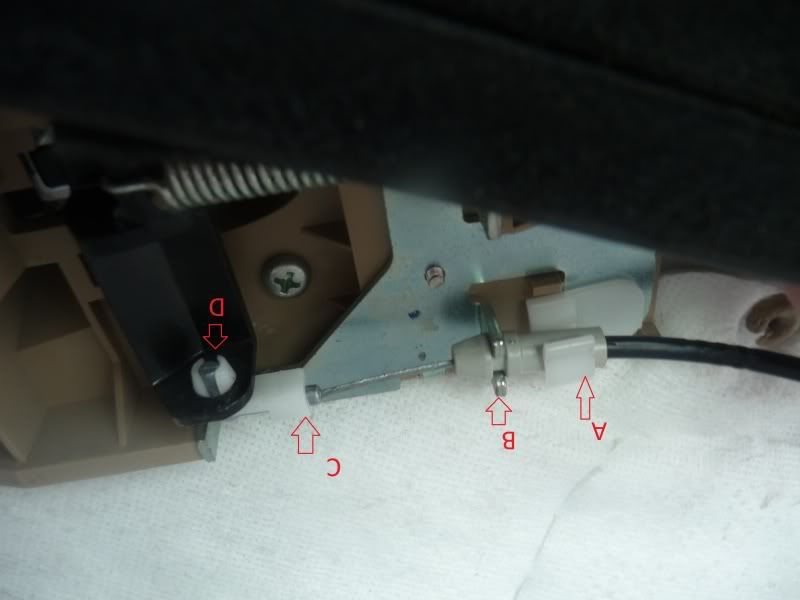
1) First you will need to unplug the door console (windows switches), there are 2 plugs on this.
![Image]()
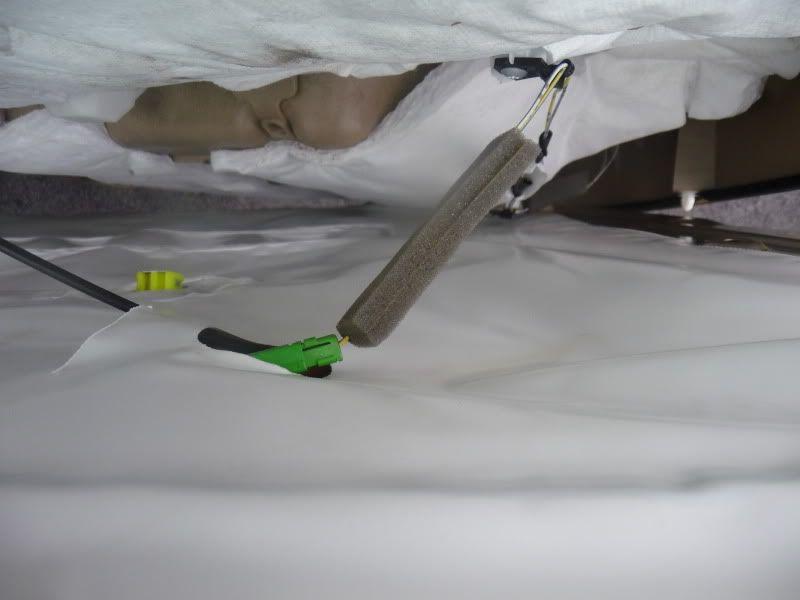
2) Unplug the green plug for the door illumination lamp.
![Image]()
Here is the before on my Ody driver door with the original 2007 door checker:
Sorry Video Not working, gotta work on it later!
This job took about 15 minutes per side, (including snapping pics). And I would rate it as an easy diy project.
So here is what I ordered:
Left front door checker (Honda Part Number: 72380-SHJ-A01) $13.18
Right front door checker (Honda Part Number: 72340-SHJ-A01) $13.18
I ordered from 1sthondaparts.com, which apparently comes from Honda of Fife in Tacoma, Washington. Shipping was $12.95, so total to my door through USPS with no duties to Canada was $39.31! Awesome...
Here is what I got:
I am not going to reinvent the wheel with a complete guide (and I am lazy), so take a look at this great speaker replacement guide by sat on how to remove the door panel for a speaker replacement.
Here is sat’s guide in the following thread: http://www.odyclub.com/forums/52-2005-2010-odyssey/25826-howto-replace-front-door-speakers-pics.html
Here is the equipment needed for the whole job:
-Phillips screwdriver
-Small flat head screwdriver
-10 mm socket
-12 mm socket
You might want to add a thin bladed knife also. It came in handy for me on step 3. The most time consuming part of this whole thing was trying to get the plastic out from behind the door handles. Here is a pic of the plastic once removed.

So, on his guide, follow to Step 8. These are the steps to remove the driver side panel. Here is the culprit.
Here are the rest of the steps necessary to replace that actual checker.
1) First you will need to unplug the door console (windows switches), there are 2 plugs on this.

2) Unplug the green plug for the door illumination lamp.


")


